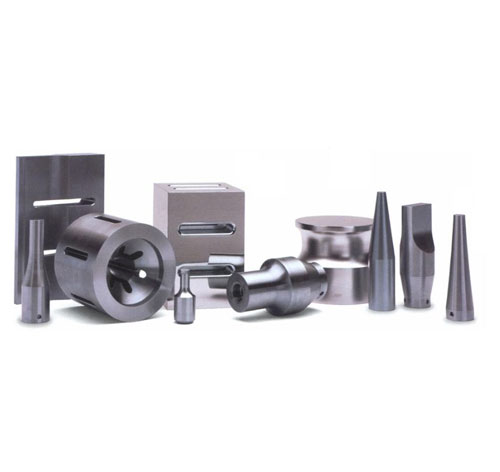
Dongguan Ultrasonic Mold Manufacturers introduce several steps in the debugging of ultrasonic molds

1. First open the working pressure source of the ultrasonic wave to ensure that the mechanical barometer can be operated normally.
2. Use an ultrasonic wrench to remove the original welding mold on the machine, and then install the ultrasonic mold of the required welding product. When the needle is loose, remember to tighten.
3. Turn on the power of the ultrasonic device, then turn on the start button, and wait for 3 to 5 seconds to turn off the power. Then press and hold the sound detection button on the controller. The sound of the ultrasonic vibration should Be crisp, no hoarseness or extra noise. If the sound is screaming or hoarse, be sure to check if the mold is loose or cracked. , and adjustment of measures is taken.
4. Need to loosen the two fastening handles on the back of the rack and shake the top of the mechanical head to a certain height according to the product.
5. Turn off the air supply, and then adjust the air pressure value to "zero". The product to be welded is placed on the bottom mold and the mold is closed.
6. Pull down the whole mold vibration tube, so that the upper mold is close to the bottom mold, and the moving head lifter is pressed so that the upper mold is pressed onto the product, and the product and the upper and lower molds must Be matched.
Apply air pressure to 0.1MPA, then select the switch to manually, press the two green start buttons on the front of the machine to lower the mold and press the welded product.
8. Add and subtract the rocking lifter according to the product to be welded, so that the limit screw and the vibrating cylinder maintain a distance of 1MM.


 Mobile web site